If you’ve been browsing online, you may have noticed there are hundreds of free stock images available to use with your marketing campaigns. However, this has meant that many of these stock images are widely used by different industries and companies making marketing campaigns appear very generic.
Traditionally, marketers have simply used a .png file (a photo image with transparency) over a stock image or video to make it “theirs”. This can be done through all photo apps such as Adobe Photoshop or Canva.

However, it can be difficult to match your product image to the stock image, resulting in an amateurish, obviously-photoshopped photo.
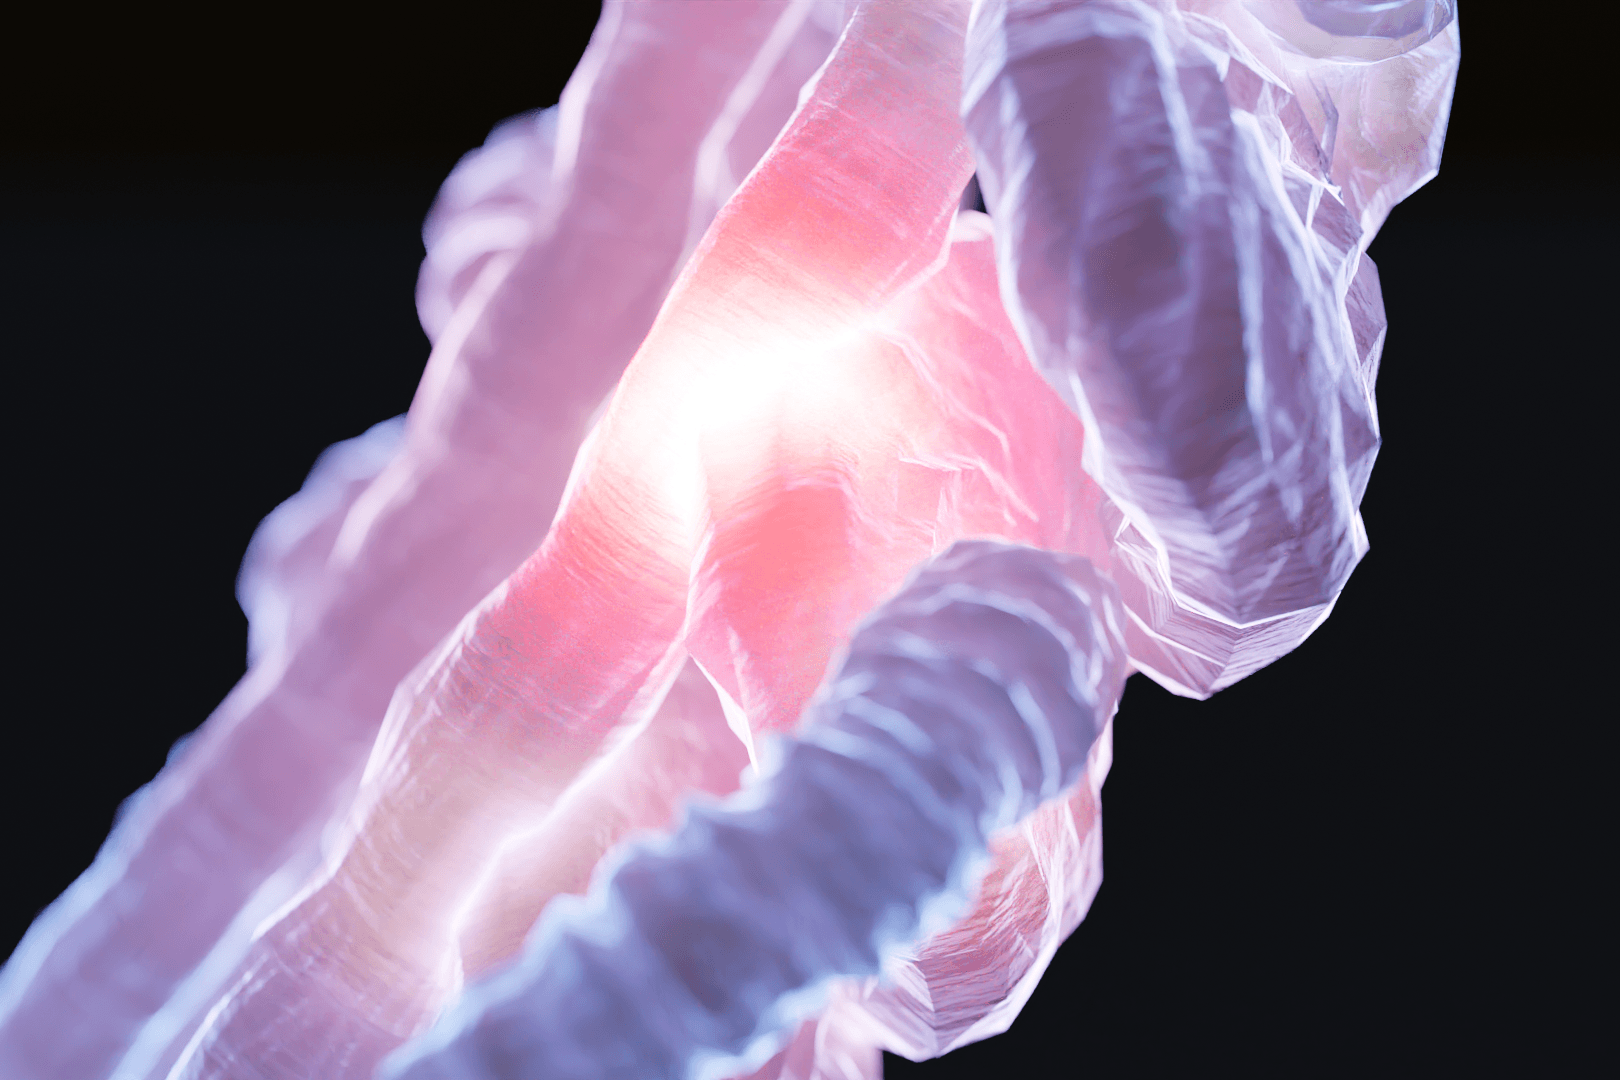
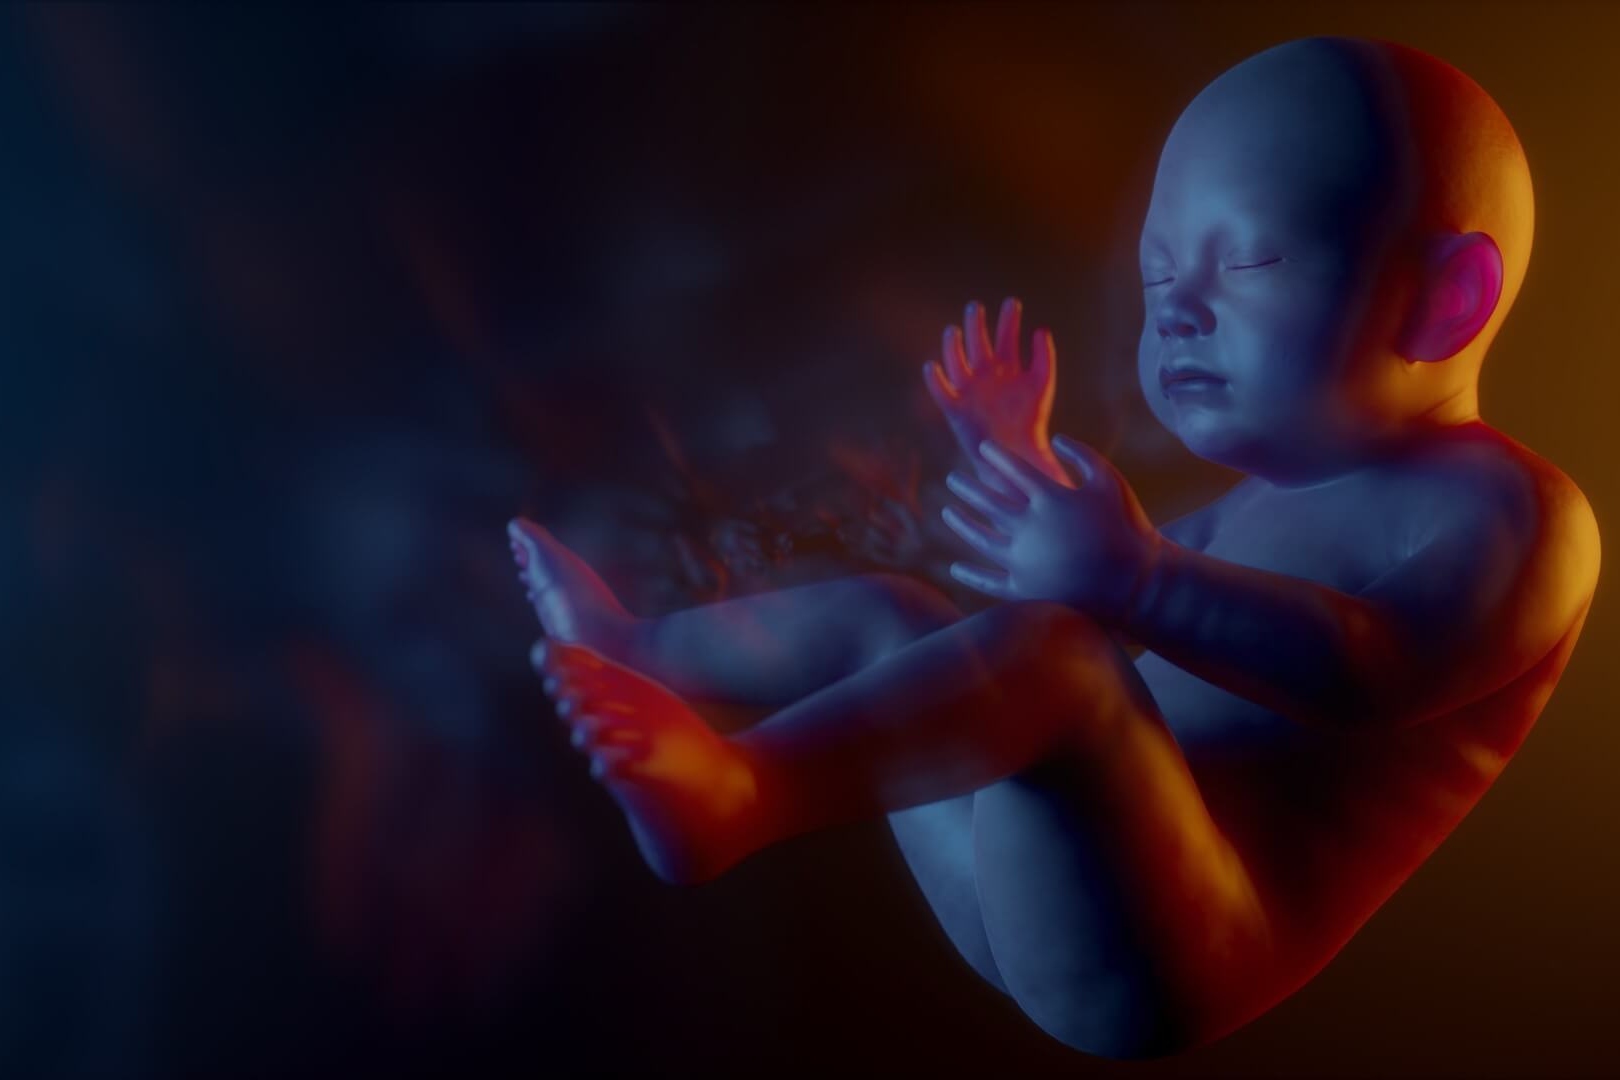
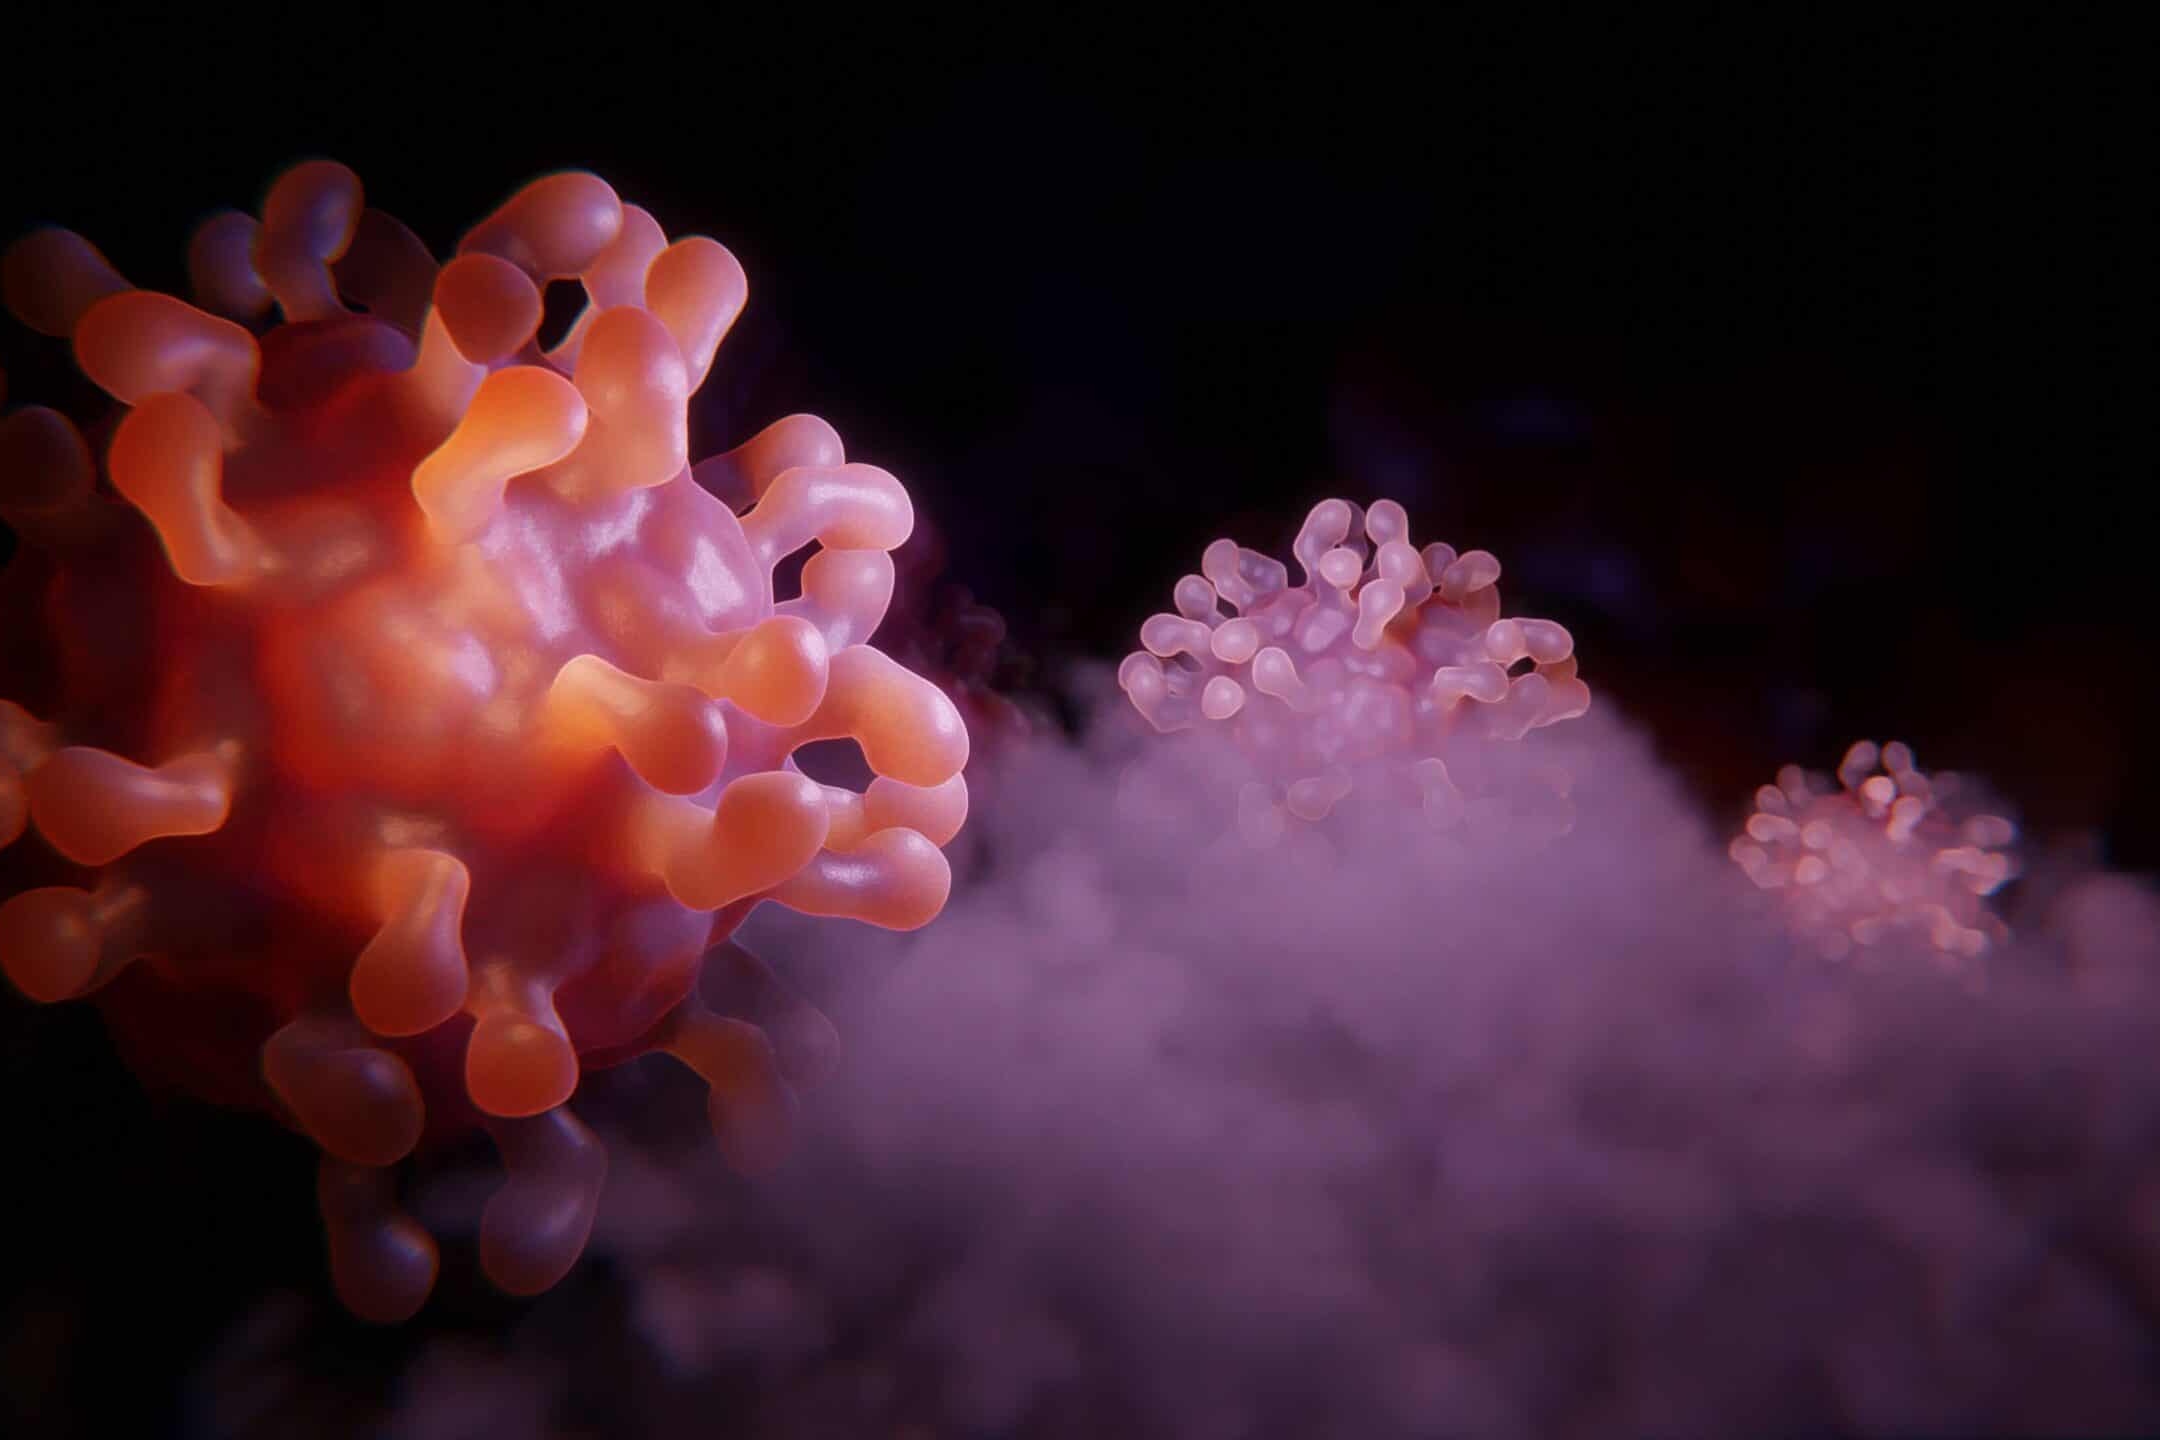
A more professional way of doing this is to copy what the film industry does: re-render the entire scene in a 3D world, allowing us to produce a photorealistic image or video.
The Photorealistic Method
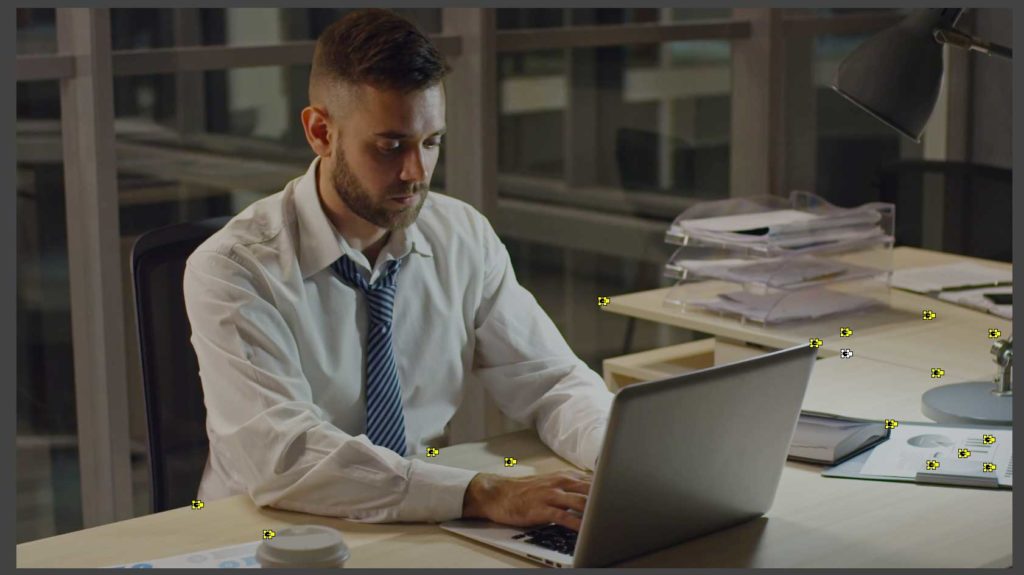
We re-rendered the set in a 3D space, after tracking the image. This allows us to determine how all the objects affect each other with their lighting, reflections depending on their material. (Specifically, how diffuse and glossy objects affect one another).
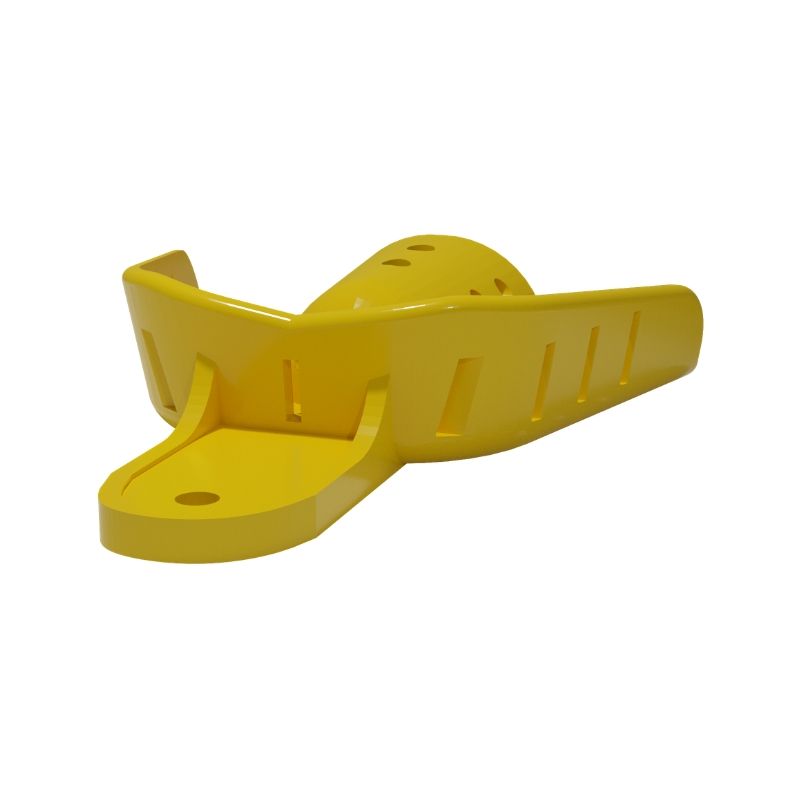
We then placed an exact 3D model of the product directly in the 3D world.

The benefits of this technique is that all the assets created can be reused. Once the model is created, it can be applied, viewed, and positioned in different digital scenes as long as it’s saved. (Aside note: this how Pixar has been able to produce many sequels to films quickly – eg. Toy Story 1, 2, 3 – without the limitations of having physical stages or actors).
After positioning virtual lighting throughout the scene to correspond with the image, as well as matching focal lengths, color balancing, we were able to create a photorealistic object within the stock footage.

Clearly, the product featured here is just a standard dental stock impression tray, but imagine the possibilities with your medical device.